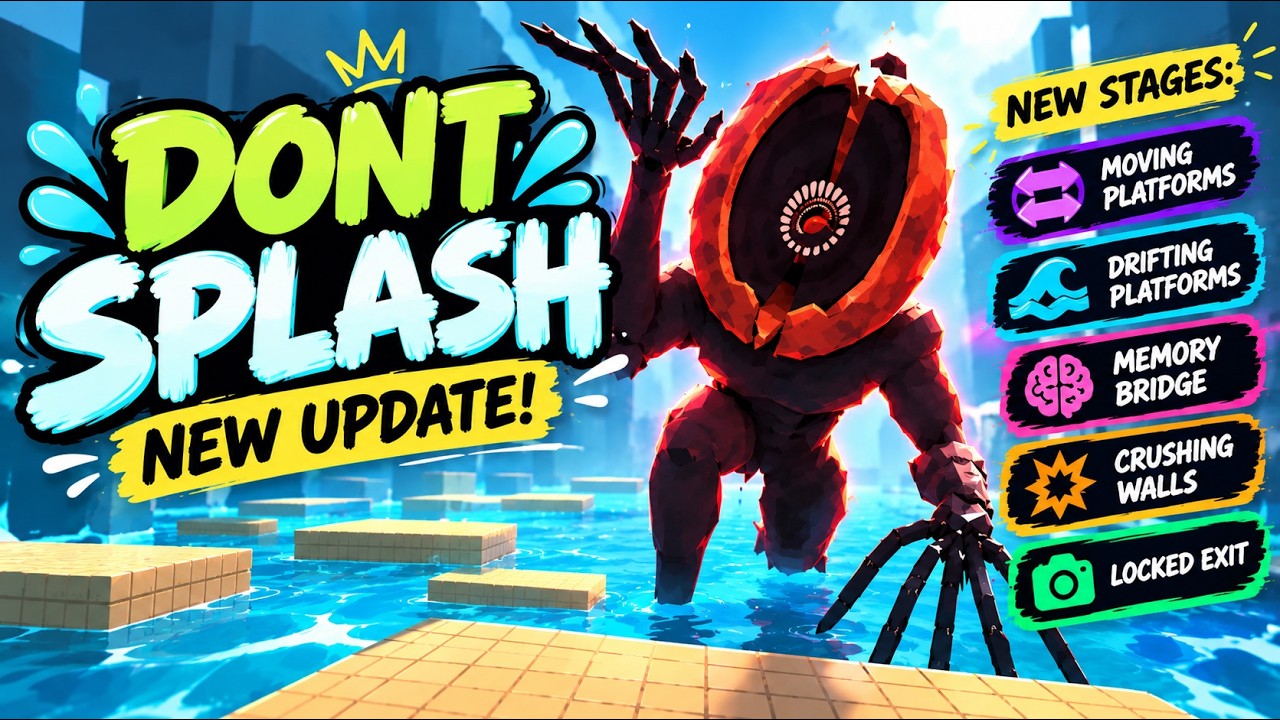
If you are searching for dont splash Maps, start with one practical rule: read the room mechanic before you jump. The confirmed Poolrooms route is a sequence of nine rooms, and each room tests a different decision—where to land, when to wait, which pattern to remember, or when to sprint. A failed jump can create a splash that gives a monster information, so rushing is not always faster; review the monster behavior guide when a route fails because of sound.
Poolrooms map order
The following is the recorded room order for the sequential Poolrooms route. Use it as a preparation checklist rather than assuming every difficulty has identical room length, monster pressure, or checkpoint placement.
| Room | Main mechanic | Best decision |
|---|---|---|
| 1. Pillar Hall | Square-platform jumps and wall arrows | Line up the next landing and follow the arrows toward the exit |
| 2. Broken Walkway | Narrow footholds and wide-platform jumps | Choose short jumps for control or longer jumps only when the wide landing is clear |
| 3. Sinking Platforms | Pads disappear or sink | Keep moving; use dark-bordered pads as brief stops when available |
| 4. Rotating Bridge | A bridge turns into alignment | Wait for the bridge and entrance to line up before committing |
| 5. Moving Platforms | Platforms change position | Watch the next landing and jump when the route forms |
| 6. Drifting Platforms | Pads or arrows push you sideways | Correct your direction before the jump and stay centered |
| 7. Memory Bridge | Safe segments appear in a pattern | Watch a complete cycle, then copy the pattern |
| 8. Crushing Walls | Walls close on a rhythm | Wait for the open gap and cross without hugging the edge |
| 9. Locked Exit | Finish objective and escape | Complete the objective shown by your route, then sprint out |
The rows separate the room name from the decision that gets you through it. Harder difficulties can make the route longer and add more monster pressure; a recorded Hard-mode explanation describes roughly twice the length of a normal map and up to seven monsters, but the exact layout and count depend on the selected setup.
How to clear each room
Rooms 1–3: control the landing
In Pillar Hall, use the arrows on the walls or pillars as route information, not decoration. Square platforms reward a deliberate setup: stop, face the next platform, and jump only when the landing is reachable. If a monster is nearby, a controlled landing is safer than a panic jump that creates a splash.
Broken Walkway gives you a choice between short jumps along narrow footholds and longer jumps toward wider platforms. Pick the route that matches your movement control. A wide platform is not useful if the jump is too long; a narrow foothold is not useful if you cannot stabilize on it.
In Sinking Platforms, ordinary pads are temporary. Move from one landing to the next before the platform disappears, and use a dark-bordered pad as a short pause when the route allows it. Do not treat a pause as a permanent safe spot.
Rooms 4–6: wait for alignment
The Rotating Bridge is a timing check. Watch the bridge rotate, wait until the near side is aligned with your position, then cross toward the far landing. If a creature is watching the water-side landing, a Pebble can redirect attention when one is available; it does not remove the need to wait for alignment.
For Moving Platforms, identify the next landing before leaving the platform you are on. The useful moment is when the moving pieces form a route, not simply when one platform passes close to you.
Drifting Platforms adds sideways movement. Stay near the center of the pad, correct for the drift before you jump, and aim for the next stable surface. Jumping while already being pushed toward an edge makes the next landing harder to recover.
Rooms 7–9: observe, then finish
In Memory Bridge, watch a full pattern cycle before stepping onto the bridge. Cross only the segments you saw light up. If you lose the sequence, waiting for another cycle is safer than guessing and splashing.
In Crushing Walls, wait for the open gap in the wall rhythm. Keep away from the edge while you wait, then move through the opening in one committed pass. The room rewards recognizing the cycle; it does not reward charging at a closed wall.
At Locked Exit, stop and identify which objective your run is presenting. The documented Poolrooms route says to open both Maintenance valves, climb the yellow blocks as the water rises, and continue down the corridor until YOU ESCAPED appears. Video records also show a camera-based finish in which players find four numbers on pillars and use them as a code. These descriptions conflict as a single universal route, so do not assume the example 8, 8, 4, 2 works in every run.
Poolrooms bridge timing, memory, and exit clues
These moments reinforce the Rotating Bridge timing, the Memory Bridge pattern, and the pillar-number finish described in this Poolrooms route.
Extra routes and map choices
The map-selection records also mention Valve Escape and Halloween Farm, but they should not be treated the same as the confirmed nine-room Poolrooms sequence.
- Valve Escape: open both Maintenance valves, then move quickly as the water rises. The described escape uses yellow blocks and a rotating section before the corridor finish. The exact connection between this route and the nine named rooms is not established, so follow the objective and room prompts in your current run.
Open the Maintenance valves during Valve Escape
This moment supports the Valve Escape instruction to open both Maintenance valves before moving through the rising-water route.

- Halloween Farm: appears in map-selection or event records, but the supplied pages say it did not load reliably during testing. Its complete playable route is therefore not documented here.
Map survival checklist
- Check the setup. Map choice, difficulty, monster count, and party size affect the pressure you face.
- Read the room. Identify whether the next decision is timing, alignment, memory, drift control, or a finish objective.
- Preserve control. A failed landing can create a splash and reveal your position; use Pebbles to distract only when that is supported by the situation.
- Use checkpoints. The route records say checkpoints save between rooms, but do not assume every room has the same checkpoint position.
- Re-check the finish. If your exit shows valves, follow the valve route. If it presents pillar numbers and a camera objective, search for all four numbers before entering the code.
FAQ
Do DONT SPLASH maps always have nine rooms?
The confirmed Poolrooms records describe nine sequential rooms. Other route and event records—especially Valve Escape and Halloween Farm—are separate or version-dependent in the supplied evidence, so they should not be folded into that count.
What should I do if a platform is moving?
Stop and watch the next landing. For rotating or moving platforms, wait until the route aligns; for drifting platforms, correct your position before jumping. The common mistake is treating proximity as a safe landing window.
Can I use a Pebble on every map obstacle?
No. Pebbles are documented as a way to draw monster attention away in some situations, but they do not solve platform timing, memory patterns, crushing walls, or the exit objective.
Is Halloween Farm playable?
It is recorded as a map-selection or event option, but the supplied evidence does not confirm a complete, reliable playable route. Treat its availability and behavior as version-dependent.